 |
| Setting Printer Paper Size |
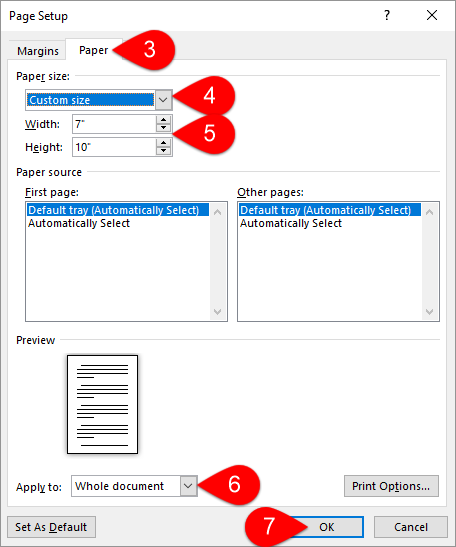
If we only print once with the size of the paper there is indeed no problem. But if it happens many times, of course, it will be troublesome because we have to change the paper size every time we intend or want to print a document or any file.
The practical solution to increase printer paper size
Some of you may experience this problem very often. Then, how about a more practical solution to solve it?
The best solution is to add printer paper size permanently via the dialog box of Control Panel. In this way, we no longer need to make settings of paper size every time when we want to print a document with a paper size that is different from the standard size or the size is not in the list of options which is provided.
The steps to increase the printer paper size on windows
The following are step-by-step instructions for adding paper sizes to the printer. You can try it on Windows 8 with a Canon iP2770 printer. However, actually, for other versions of Windows, the way is almost the same.
Open the Control Panel then click the menu of View devices and printers.
Click on one of the printers which have been installed on your own laptop (just click it once).
Next, it will appear a tab at the top that contains several menus, one of which is "Print server properties". Click the menu.
Next, the dialog box of Print Server Properties will appear.
Put a checkmark in the section of Create a new Form.
Next, rename the form and enter the paper size information that you want to add. For example, folio paper (F4) is 21.5 x 33 cm. After that, click the Save Form button to save the paper size settings which you have set.
Well, the settings are finished. If you want to print a document, the printer paper size will appear in the Printer dialog box and you can select it without having to set it manually.
Those are the practice ways to print your document quickly without changing the paper size every time you intend to print. Good luck!
loading...